Making a Thing
In this brief tutorial, we will be creating a custom entity, registering it as a Thing, and seeing it built in-game.
Knowledge of basic Factorio modding is assumed in this tutorial. If you are looking for an introduction to modding or are unable to follow what is happening in this tutorial, please consult Factorio's many modding resources, such as this modding tutorial.
For the purposes of this tutorial, we will assume you are working on a mod called my-mod and have built out a suitable mod skeleton for extension.
Data Phase
Custom Entity
We will begin by creating a simple custom entity that will become our new Thing. This one is based on the simple-entity-with-owner prototype.
This section is standard Factorio modding for custom entity creation. Experienced modders may skip to the next section. If you use this code, be sure to modify as appropriate for your actual mod name, graphics, etc.
You will need the following entity sprite graphic, as well as a white.png file for the icon, loaded into your graphics folder:

Add the following definitions to your data.lua:
local entity_sprite = {}
for idx, direction in pairs({ "north", "east", "south", "west" }) do
	---@type data.Sprite
	entity_sprite[direction] = {
		filename = "__my-mod__/graphics/entity-sprite.png",
		width = 128,
		height = 128,
		scale = 0.25,
		x = (idx - 1) * 128,
		shift = util.by_pixel(0, 0),
	}
end

---@type data.SimpleEntityWithOwnerPrototype
local entity = {
	-- PrototypeBase
	type = "simple-entity-with-owner",
	name = "my-mod-thing",

	-- SimpleEntityWithOwnerPrototype
	render_layer = "floor-mechanics",
	picture = entity_sprite,

	-- EntityWithHealthPrototype
	max_health = 250,
	dying_explosion = "medium-explosion",
	corpse = "medium-remnants",

	-- EntityPrototype
	icon = "__my-mod__/graphics/white.png",
	icon_size = 256,
	collision_box = { { -0.45, -0.45 }, { 0.45, 0.45 } },
	collision_mask = {
		layers = {
			item = true,
			object = true,
			player = true,
			water_tile = true,
		},
	},
	selection_box = { { -0.5, -0.5 }, { 0.5, 0.5 } },
	flags = {
		"player-creation",
		"placeable-neutral",
		"not-upgradable",
	},
	minable = { mining_time = 1, result = "my-mod-thing" },
	selection_priority = 20,
}

---@type data.ItemPrototype
local item = {
	-- Prototype Base
	type = "item",
	name = "my-mod-thing",
	place_result = "my-mod-thing",

	-- ItemPrototype
	stack_size = 50,
	icon = "__my-mod__/graphics/white.png",
	icon_size = 256,
	order = "m",
	subgroup = "circuit-network",
}

---@type data.RecipePrototype
local recipe = {
	type = "recipe",
	name = "my-mod-thing",
	hidden = false,
	enabled = true,
	energy_required = 5,
	ingredients = {
		{ type = "item", name = "electronic-circuit", amount = 1 },
	},
	results = {
		{ type = "item", name = "my-mod-thing", amount = 1 },
	},
}

data:extend({entity, item, recipe})
Boot into a Factorio editor scenario and you should now have a placeable custom entity. Now to make it into a Thing.
Thing Definition
Once you have a custom entity, you must make it into a Thing.
To define a Thing, we use the mod-data mechanism to provide information about our Thing and its desired behaviors. Add the following code to the bottom of our data.lua file:
---@type things.ThingRegistration
local my_thing_registration = {
	name = "my-mod-thing",
	intercept_construction = true,
}

data.raw["mod-data"]["things-names"].data["my-mod-thing"] = my_thing_registration
This code is adding an entry to Things' mod-data table explaining how it should manage your new Thing. In this case, we are simply passing in the name of your custom entity, along with the intercept_construction option. This option will cause Things to intercept any event where a user-initiated action would build your custom entity, and make the built entity into a Thing.
Thing registration is the primary interface for customizing the behavior of your Thing. Numerous options are available when registering a Thing. See the things.ThingRegistration reference for more information.
In-Game Test
- Launch Factorio with your new mod and Things both enabled.
- Create a new blank map or Editor Extensions testing scenario.
- Enable
Debug modein Things' map settings.
In debug mode, Things will draw rendering overlays to show you some information about the state of your Things. It will also output a considerable amount of information to Factorio's log file.
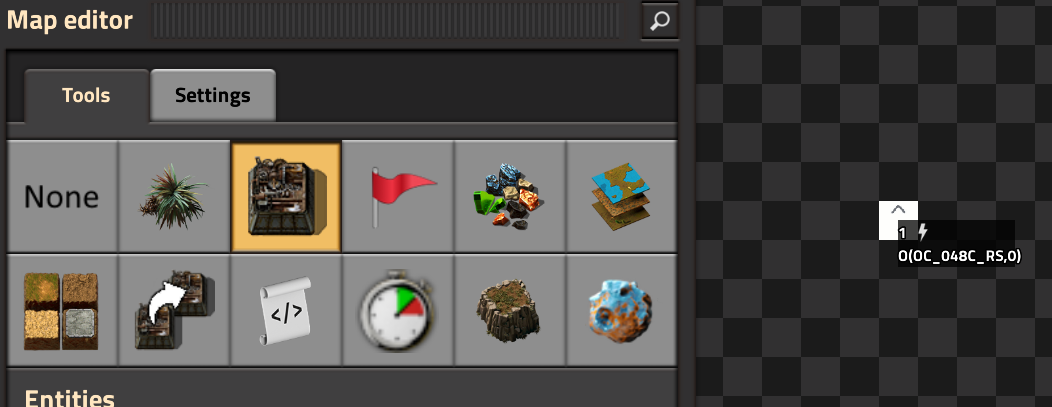
- Launch the map editor.
- Build your new entity.
You should see something like this:
If so, congratulations! You've successfully made your first Thing. Now we'll move on to more advanced functionality.
If you see the placed entity, but not the debug overlay, make sure you have Things debug mode enabled in map-level mod settings.